UPDATE: Due to the amazing response I’ve received from the jacket, I am going to be expanding the sizes from 12 months to 12 years and I am looking for a couple pre-testers. Visit me on Facebook for more info.
There are so many things I enjoy about sewing. I love pattern testing, all the lovely fabric, the act of sewing itself–except for the parts that involve a seam ripper (which happens to be quite a lot for me). But I think my favorite part is having an idea in my head and creating it from start to finish. So, I’m excited to share this bomber jacket pattern with you. Right now it’s only in size 2T, but I have a size six in the works for my son.
I’ve made a few of these jackets, but this one with the quilted floral is my favorite. This fabric came from
Knitpop and I looove it! The jacket has welt pockets that you can leave out if you want, but I highly recommend them, just because pockets are fun! The jacket is also fully lined.
This is a version made from a Liverpool that is from
Sincerely Rylee. Liverpool is a stretchy, textured fabric that is a nice weight and is easy to sew.
If this is the face you’re making as you wade through the photos, waiting for me to get to the tutorial, then here you go. Let’s get started!
Sizing: This pattern is for a 2T, which fits a chest size of 20″-21″, and a height of 32″-33″. The finished jacket has a length of 13.5″ from shoulder to bottom, and a width of 12.5″ across the chest.
What You Need:
1/4 yard knit (stretch) fabric for jacket shell. Best results will come from a sturdier knit such as French terry, scuba, interlock, or Liverpool.
1/4 yard knit fabric for lining. You can pretty much use any kind of knit fabric you want for the lining.
Rib or Lycra for cuffs, waistband, and collar as follows:
- Waist band – one cut at 23″ x 4″
- Sleeve cuff – Cut 2 from pattern piece
- Collar – cut one from pattern piece
A 12″ separating zipper
Getting Started:
Print out your pattern pieces. Make sure you are printing at 100% and check your 1″ square to be sure it printed at the correct size. Cut out your main fabric and lining fabric as well as your cuffs and band. You only need to cut the fronts, back, and sleeve from the lining. Below is how your pieces will be assembled. Cut along the lines and line up your purple rectangles and pattern edges.
Transfer your pocket markings to the front of your two front pattern pieces with chalk or water soluble ink. You don’t need to trace around the entire pocket rectangle, just trace the two short ends and draw a line in the center connecting them. So it makes an “I” shape. If you are leaving the pockets off, you can skip this step.
Seam allowance: 3/8″ unless otherwise noted. Be sure that you are using a stretch stitch, since you are working with knit.
Lay your two front pieces on your back piece, with right sides together. Match up the shoulder seams and sew along the shoulder.
Open up your jacket and place it face up. Lay one of the sleeves right side down along the armscye, matching the center of the sleeve with the shoulder seam. Pin in place.
Match up the edge of you sleeve with the edge of your armscye and pin.
Math up the rest of the raw edges and pin. Continue on the opposite side of the sleeve and then sew along the sleeve on, following the curve of the sleeve. Repeat with the other side.
Once both sleeves are sewn on, lay your coat with right sides together, matching up the underarm seam. Pin along the sleeve and down the bodice side. Sew the arm and sides together. Repeat for the other side. Repeat all of these steps for the lining as well. Set the lining aside.
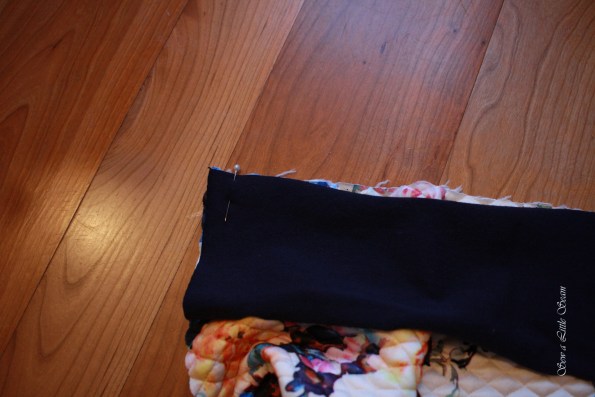
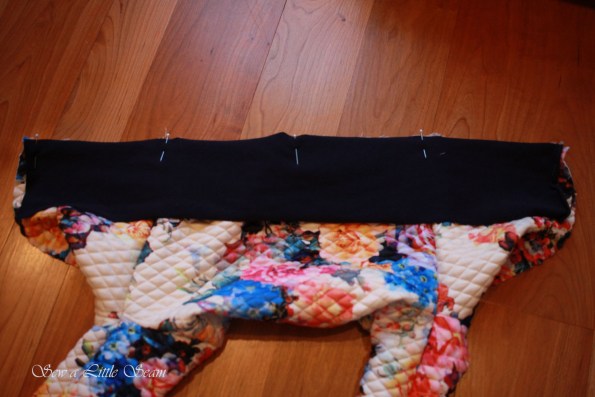
Find the center of your waistband and and pin it to the center back of your jacket, with right sides together. Leave your waistband open and unfolded, so only one raw edge is pinned to the jacket.
Match up the corner of your band with the bottom corner of your jacket. Repeat on the other side.
Continue pinning your waistband to the bottom edge of your jacket, stretching the band evenly as you go. Sew along the band, making sure you keep the band slightly stretched and flat as you go. Be careful not to stretch your jacket.
Now we will mark where the zipper is going to end. Fold your band together at one side, matching up the raw edges. Press along the edge. Repeat on the other side.
You can mark your fold line with chalk as well, if it makes it easier to see, or just proceed to the next step.
Place your zipper face down along the front of your jacket, with the zipper side facing toward the outside of your jacket. Line up the edge of your zipper tape with the raw edge of your jacket opening. The zipper should end at the fold line you just made. The top of the zipper should be about 3/8″ from the top of your jacket. If it goes higher than this, we will fix it later.
I pin my zipper in place really well since the fabric can walk on you. Sew it to the front of the jacket 1/4″ away from the zipper teeth. You can use a straight stich here, since the zipper doesn’t stretch. When you get to the slider on the zipper, leave your needle in the fabric, lift up your presser foot, and zip the slider out of the way before you continue. This way you can keep a nice even stitch line.
Zip your other zipper piece onto the piece you just sewed on. Fold your jacket with right sides together, opening the zipper, so the edge of the unsewn side matches up with the raw side of the jacket.
Pin the edge of the zipper tape at the raw edge of the jacket, matching up the waistband.
Before you pin the entire zipper, check to make sure that your waistband matches from the front and one isn’t higher than the other. Sew this side of the zipper on the same way as you did the other side. You can unzip the pieces if it is easier for you.
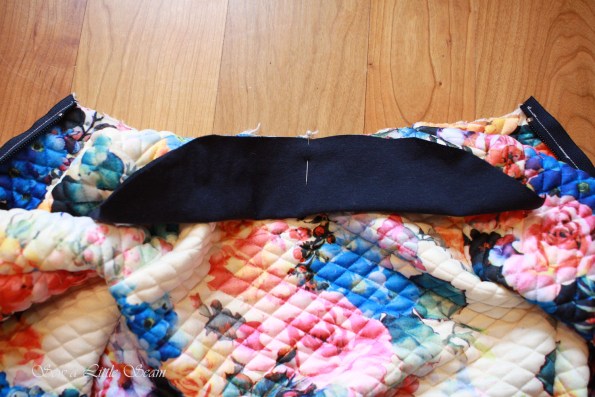
Next we are going to attach the collar. Fold the collar so the raw edges match and you have a long narrow piece. Find the middle of your collar and pin it at the middle of your neck opening.
Match up the notches on the collar with the shoulder seams. Make sure your zipper edges are folded in so the teeth are facing out like they will be when it is finished and ready to zip. (I have it wrong in this photo, so do as I say, not as I do!) Have the corner of your collar end at the zipper teeth. Continue pinning your collar on, stretching evenly as needed. Sew the collar onto our jacket.
Next we are going to add our welt pockets. If you aren’t adding pockets, skip ahead. You will have marked the front of your fabric with the placement of your pocket. Take your longer pocket piece and place along the long line, right side facing up. Center it along the line, so you have 3/8″ overlap on each side of the pocket piece. Mark the overlap on both the top and bottom of the pocket.
Sew 1/2″ from the edge of your pocket, starting and stopping exactly on the lines you just made on the pocket. Make sure you backstitch at both the start and stop.
Place the shorter pocket on the other side of the line, also marking where the overlap is.
Sew 1/2″ from the edge of this pocket, also starting and stopping on the lines you just marked.
Now we are going to cut along the center of your pocket, on our original pattern marking. About 1/2″ before you get to the end of your line, create a Y, cutting over toward each corner of the pocket pieces. Repeat for the other end.
Push your pocket pieces through the cut you made. We will now be working from the wrong side of the jacket. Press your pocket pieces out along the seam.
Take your longer pocket piece, the one closest to the zipper, and fold it back until it meets the other pocket piece and covers the opening. Press in place.
This is what it will look like from the front. Pin along both sides of the pocket to hold the welt in place. Now, stopstich, starting at the top of one short end, going along the bottom of the welt, and then up the other short side. Sew on the jacket, staying close to the welt. Also, make sure your other pocket piece is folded up and out of the way so you don’t sew your pocket closed.
We are now going to sew the pocket bag together. Lay your pieces together, also grabbing the triangle piece on each end. Pin around the pocket.
This is what it will look like after you’ve sewn the pocket bag together. Trim the seam to tidy it up.
Now you have a super awesome pocket! I get really excited about making pockets! haha.
Now we are at the final stretch. take our lining piece and lay it on your jacket with right sides together. Make sure that your waistband is open and laying flat as we are going to sew the bottom of the lining to the waistband. Match up the raw edges of your lining with the raw edges of your waistband. Matching centers and edges like you did before and then stretching the band evenly as needed. Sew the two pieces together.
Now fold your waistband piece back onto itself, around the zipper, with right sides still together. Match up the edges of the band on the lining side and the main jacket side.
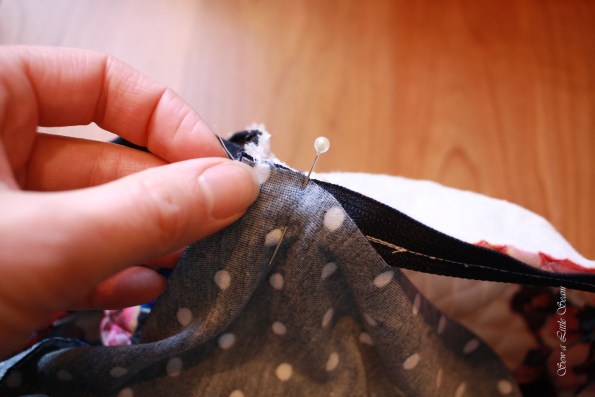
Now match the top corner neckline of the lining with the top corner neckline on the jacket. Pin the lining to the main jacket the rest of the way up the zipper. Pinning well.
Working from the jacket side, sew your lining to your jacket along the seam you already sewed when sewing on the zipper. When you get to the top, fold back the corner piece and sew as close to the end as you can without catching the overlap. Repeat on the other side so your lining is now attached everywhere but at the neck. Turn your jacket right side out and poke out the bottom corners around the zipper.
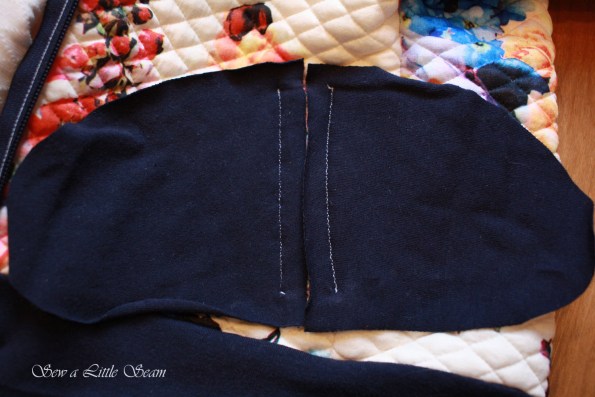
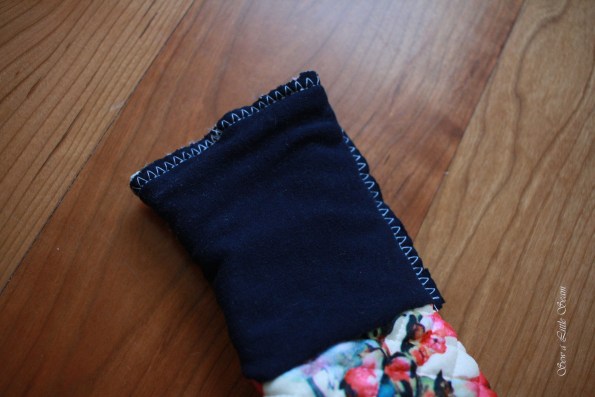
Now we will add the sleeve cuffs. Fold your cuffs along the short side with right sides together. Make sure that you are folding along the correct edge. Sew the cuffs together along the long side. Trim your seam allowance.
Slide your cuff over your sleeve, leaving it open and unfolded and with right sides together. Match up the seam on your sleeve with the seam on your cuff.
Match raw edges and sew the cuff onto your sleeve, stretching the cuff as needed.
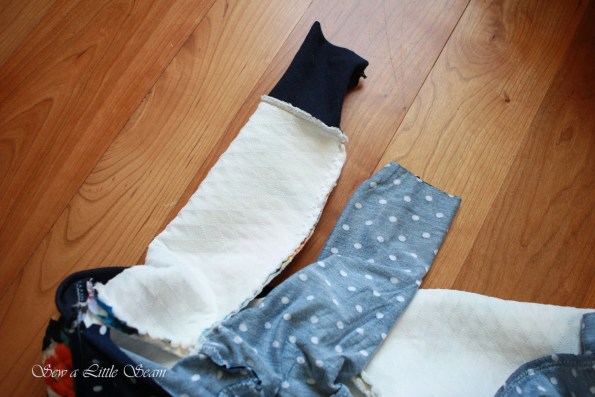
Now pull your sleeve inside out, and the lining will also be inside out.
Fold your cuff down a bit.
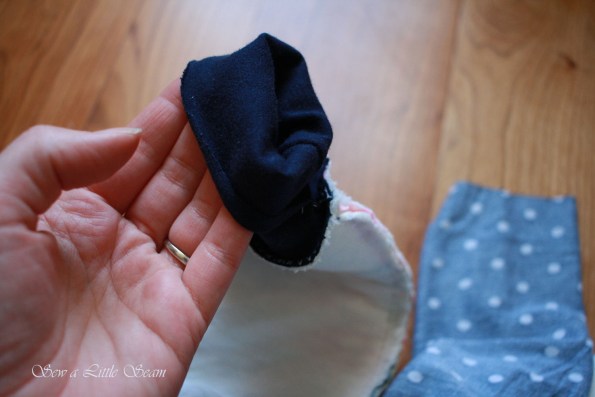
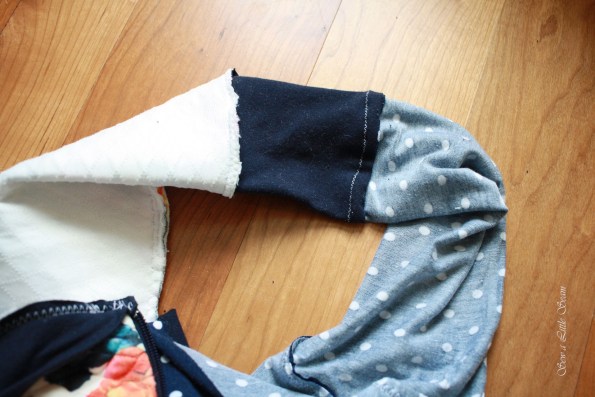
Place your lining sleeve over the cuff, matching up seams and raw edges. Sew the lining to the cuff.
This is what it will look like after everything is sewn together. Like one long tube. When you pull your jacket sleeve right side out, the lining will come down through the sleeve and the cuff will be folded in half.
To finish off the neck opening, take your lining and press it back to the wrong side 3/8″. Also, press your collar seam on your main jacket piece down toward the bottom of the jacket.
Take the folded edge of your lining and place it over your collar seam, just covering the stitches. Pin.
Continue along the rest of the collar, being sure to just cover the stitching on the collar, and lining up shoulder seams. Sew from one end to the other, about 1/8″ from the edge of the lining, feeling from the front of the jacket collar as you go to make sure your jacket isn’t bunched and that you are sewing a nice even line below the collar.
The last step is to topstitch along both edges of your front along the zipper. Starting above the waistband, stitch 1/8″ from the zipper up to your collar. Repeat on the other side. If you choose you can also topstitch along the top of the waistband and cuffs, on your main fabric.


